
Red Team Infrastructure - Configure a domain name and SSL certificate via Terraform
Learn how to map the redirector machine to a domain name and configure a valid SSL certificate via Terraform.

In previous posts, we laid out the foundational red team infrastructure in AWS using Terraform. The configuration included the creation of a Virtual Private Cloud (VPC), public and private subnets, route tables, an internet gateway, a Kali Linux EC2 instance with SSH access, a Windows Server EC2 instance with RDP access, an Ubuntu 24.04 EC2 instance with Havoc C2 and an Ubuntu 24.04 EC2 instance acting as a redirector.
In this post, we add code to increase the stealth of the infratructure. The goal is to map the redirector to a domain name and deploy a valid SSL certificate issued by Let’s Encrypt.
Follow my journey of 100 Days of Red Team on WhatsApp, Telegram or Discord.
Why map the redirector to a domain name with SSL?
From a red team perspective, using a domain name rather than a raw IP address provides a layer of flexibility and operational security. Domains are easier to remember, look less suspicious in phishing campaigns, and can be quickly redirected to different infrastructure if needed. More importantly, pairing the domain with a valid SSL certificate increases trust. A secure HTTPS connection is not just a compliance checkbox—it can prevent immediate flagging by security tools and skeptical users. Traffic over HTTPS is encrypted, which helps reduce visibility into the payloads being transmitted, especially when paired with a C2 framework that uses HTTPS-based beaconing.
A redirector is often the first exposed asset in red team infrastructure—it acts as a proxy, obfuscating the real location of the command and control server. Therefore, securing this point of contact with HTTPS is not optional—it is critical.
Assumptions
I make a few assumptions for this post:
A domain name has already been purchased from a registrar.
The domain’s nameservers have been updated to point to Cloudflare.
SSL setting in Cloudflare is already configured to Full (Strict). This ensures that Cloudflare will only accept end-to-end encrypted communication, even between Cloudflare and the origin server (i.e., the redirector).
How we’ll secure the redirector
Following is the approach for binding the redirector to a domain name and securing it with SSL:
1. Add Cloudflare as a Terraform provider
Cloudflare will be used to manage DNS records programmatically. By using Cloudflare’s Terraform provider, DNS changes can be version-controlled, repeatable, and integrated into the infrastructure-as-code workflow. These changes are also rolled back when the infrastructure is destroyed.
2. Create a module named cloudflare_dns to add an A record
We create a module (similar to previous posts) to create DNS records in Cloudflare. This module will accept inputs such as domain name, subdomain, and the IP address of the redirector instance. It will then create an A record in Cloudflare pointing the provided domain name to the public IP of the redirector.
3. Use certbot to generate the SSL certificate
Once DNS is in place and propagated, the next task is to provision an SSL certificate. On the redirector machine, we will use the certbot tool for obtaining SSL certificates from Let’s Encrypt.
We will run Certbot in a non-interactive manner. This involves specifying all required flags at runtime: domain name, email address, agreement to terms, and web server plugin. Certbot will then handle the ACME challenge with Let’s Encrypt to verify domain ownership and generate the SSL certificate. Once successful, Apache will be automatically configured to use HTTPS.
Steps to generate a Cloudflare API token
To manage DNS records through Terraform, Cloudflare requires an API token with specific permissions. This is how to generate it:
Log in to your Cloudflare dashboard.
Navigate to Profile > API Tokens.
Click on Create Token.
Choose the Edit zone DNS template or manually assign these permissions:
Zone → Read | All zones or specific
DNS → Edit | All zones or specific
Generate and copy the token securely—this will be used in the Terraform provider block.
This token will be passed to Terraform using the secrets.tfvars file.
Terraform resources required to map a domain name
Terraform interacts with Cloudflare using specific resource types. Here's an overview of the resources used in this lesson:
cloudflare/cloudflare
The Cloudflare provider is required to interact with the Cloudflare API. This tells Terraform to authenticate using the token and enables access to all DNS-related resources.
Here’s the syntax for using this provider:
terraform {
  required_version = ">= 1.11.0"

  required_providers {
    cloudflare = {
      source  = "cloudflare/cloudflare"
      version = ">= 5.4.0"
    }
  }
}

provider "cloudflare" {
  api_token = var.cloudflare_api_token
}
cloudflare_zone
This resource fetches information about the DNS zone (domain) being managed. This is typically used to get the zone ID, which is required when creating DNS records.
Here’s the syntax for provisioning cloudflare_zone data resource:
data "cloudflare_zone" "example" {
    filter = {
    name = "example.com"
  }
}
cloudflare_dns_record
Used to create DNS records such as A, CNAME, or TXT. We will use this to map a domain name to the IP of the redirector EC2 instance.
Here’s the syntax for provisioning cloudflare_zone data resource:
resource "cloudflare_dns_record" "redirector" {
  zone_id = data.cloudflare_zone.example.id
  name    = "redirector"
  value   = var.redirector_public_ip
  type    = "A"
  ttl     = 1  # TTL must be set to 1 when proxied is set to true
  proxied = true
}
Deploying the domain name and SSL certificate configuration code
Refer to the Kickstarting red team infrastructure automation via Terraform to understand the architecture we are working with.
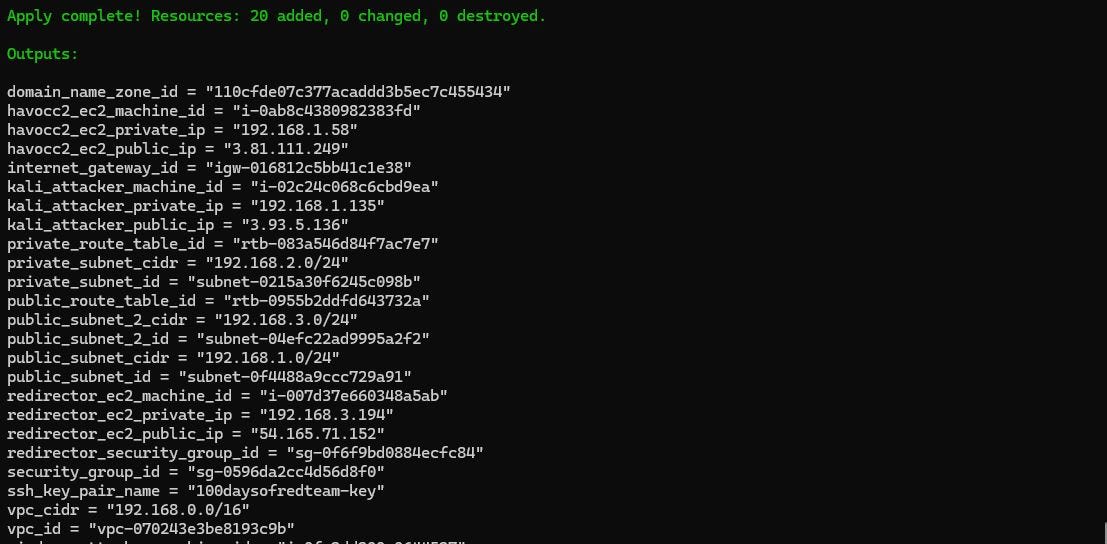
Clone this project to your machine and execute the following commands to deploy the infrastructure:
⚠️Reminder: Switch to the dev Terraform workspace (terraform workspace select dev) before executing following commands. To create dev workspace use, terraform workspace new dev.
terraform init
terraform plan -var-file "secrets.tfvars"
terraform apply -var-file "secrets.tfvars"Reminder: You must create a
secrets.tfvarsfile manually to hold credentials. Never commit secrets to version control. It contains AWS credentials temporarily stored in plain text, which is not recommended for production environments. Also, we are still using local state files for simplicity. In a real red team deployment, you must use an encrypted remote backend.
Once done, remember to destroy the infrastructure via following command (or you may incur significant costs):
terraform destroy -var-file "secrets.tfvars"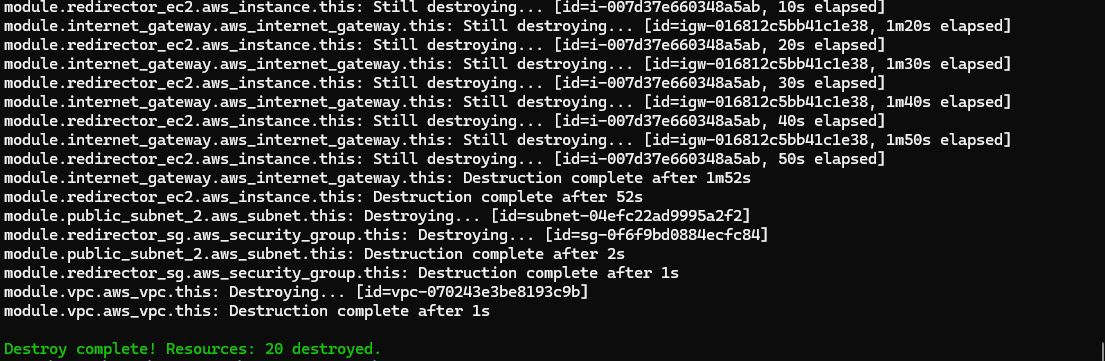
TL;DR
In this post we covered how to:
- Use the cloudflare provider map the given domain name to redirector's public IP by programmatically creating an A record.
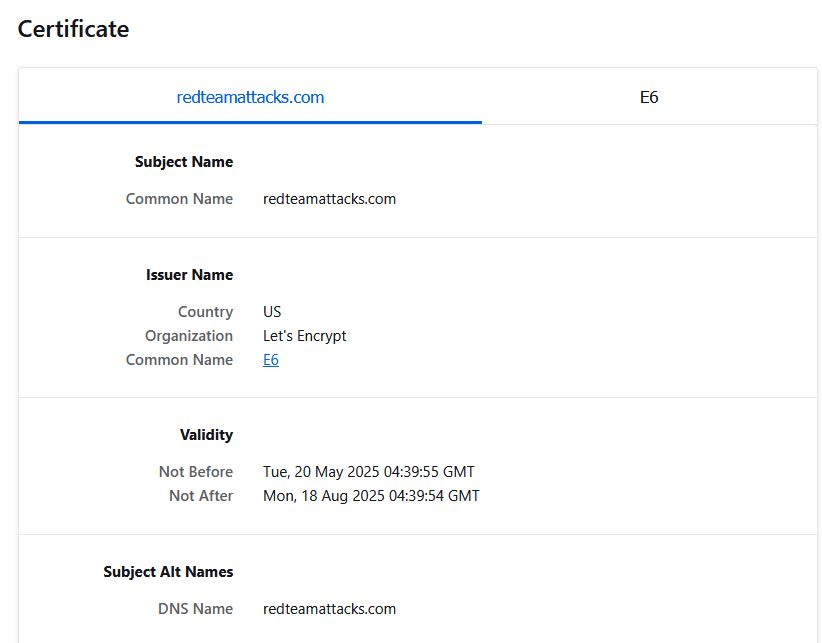
- Generate and deploy a SSL certificate by running certbot in a non-interactive manner.
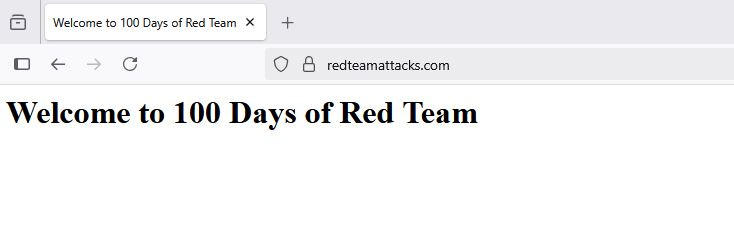
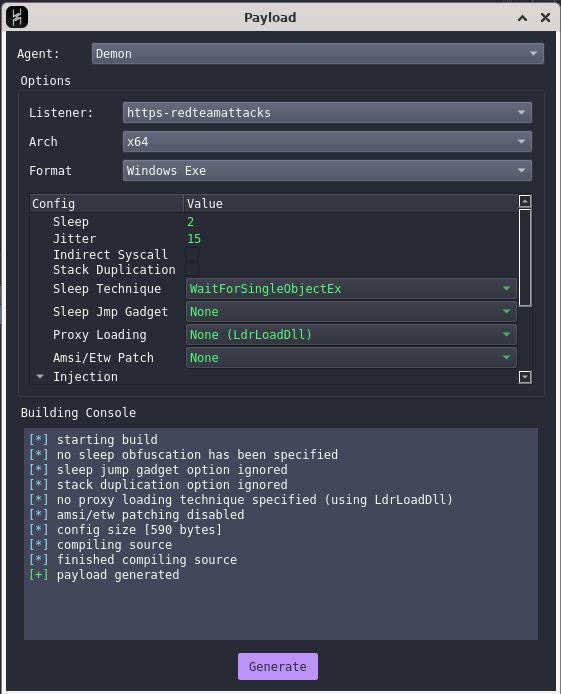
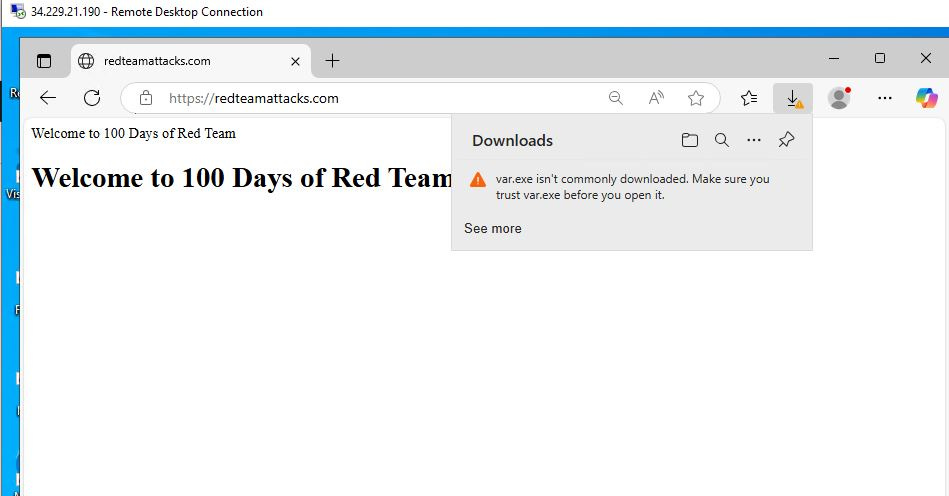
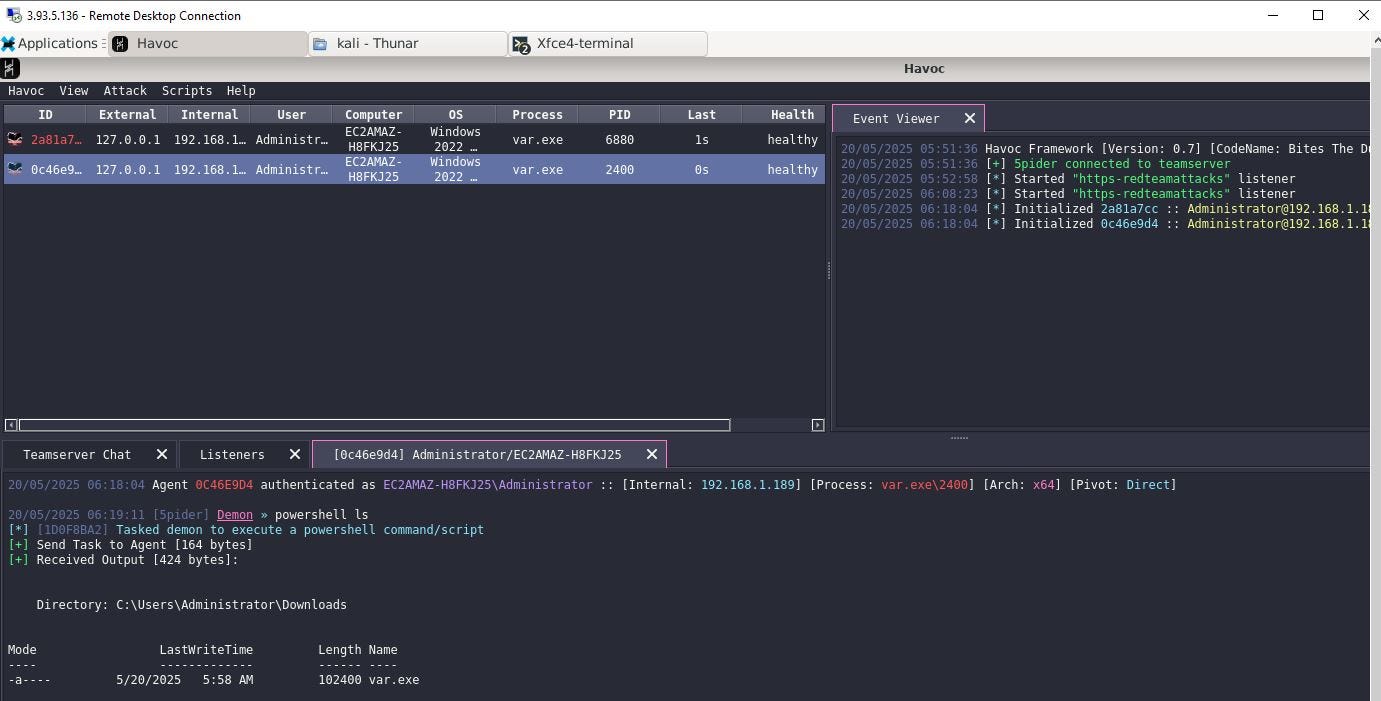
- Validate the functioning of domain name by deploying a payload on a Windows box.Follow my journey of 100 Days of Red Team on WhatsApp, Telegram or Discord.