
Red team infrastructure - Subnet creation with Terraform
Learn how to deploy public and private subnets, internet gateway and route tables in AWS via Terraform.

With a working VPC in place, the next step is creating subnets—logical partitions inside the VPC that separate different parts of the network.
Public vs private Subnets
Subnets are simply smaller network ranges carved out of a larger VPC range. For example, if a VPC has the CIDR block 10.0.0.0/16, we could divide it into two subnets (or more, if required): 10.0.1.0/24 for public and 10.0.2.0/24 for private.
Follow my journey of 100 Days of Red Team on WhatsApp, Telegram or Discord.
The main difference lies in internet accessibility:
Public Subnet - A subnet that routes traffic through an Internet Gateway (IGW). Instances in this subnet can reach the internet (and receive inbound connections, if configured).
Private Subnet - A subnet with no direct internet access. Outbound traffic may still reach the internet using a NAT Gateway (we'll cover this later), but inbound traffic from the internet is blocked.
This split is crucial in red team operations. Public subnets can host redirectors or decoys. Private subnets can host stealth infrastructure like C2 listeners or post-exploitation servers—effectively hidden from the outside world.
We will be creating a private subnet and a public subnet as shown below:
VPC: 192.168.0.0/16
├── Public Subnet: 192.168.1.0/24 (has route to IGW)
│   └── Redirector or bait server
└── Private Subnet: 192.168.2.0/24 (no direct route to internet)
    └── Payload server / C2 listener
Terraform resources required to deploy subnets
aws_subnet
Terraform provides the aws_subnet resource to create individual subnets within a VPC. Each subnet must have a CIDR block that falls within the parent VPC’s range.
Here’s the syntax for provisioning aws_subnet resource:
resource "aws_subnet" "this" {
  vpc_id                  = var.vpc_id
  cidr_block              = var.cidr_block
  availability_zone       = var.availability_zone
  map_public_ip_on_launch = var.map_public_ip_on_launch

  tags = {
    Name = "100daysofredteam-subnet-${var.name}-${var.environment}"
  }
}
aws_internet_gateway
Terraform provides the aws_internet_gateway resource to provision an internet gateway and attaches it to the VPC. It is required to enable internet access for any public subnets.
Here’s the syntax for provisioning aws_internet_gateway resource:
resource "aws_internet_gateway" "this" {
  vpc_id = var.vpc_id

  tags = {
    Name = "100daysofredteam-igw-${var.environment}"
  }
}
aws_route_table
Terraform provides the aws_route_table resource to define routing rules for a subnet. For a public subnet, the route table will direct 0.0.0.0/0 traffic through the internet gateway.
Here’s the syntax for provisioning aws_route_table resource:
resource "aws_route_table" "public" {
  vpc_id = var.vpc_id

  route {
    cidr_block = "0.0.0.0/0"
    gateway_id = var.internet_gateway_id
  }

  tags = {
    Name = "100daysofredteam-rtb-public-${var.environment}"
  }
}
aws_route_table_association
Terraform provides the aws_route_table_association resource to bind a specific subnet to a route table. Without this, the subnet will not follow the route table’s rules.
Here’s the syntax for provisioning aws_route_table_association resource:
resource "aws_route_table_association" "public" {
  subnet_id      = var.subnet_id
  route_table_id = var.route_table_id
}
Deploying the subnet
The overall flow of the deployment will be:
Create a VPC to host the infrastructure.
Create one public subnet and one private subnet.
Create an internet gateway to allow internet access for public resources
A route table that routes traffic to the internet for the public subnet
A route table that restricts internet access for the private subnet
Note: We will not set up a NAT Gateway yet (that comes later), so the private subnet will have no outbound internet access for now.
Refer to the Kickstarting red team infrastructure automation via Terraform to understand the architecture we are working with.
We will use the following directory structure:
red-team-infra/
├── main.tf
├── variables.tf
├── outputs.tf
├── terraform.tfvars
├── providers.tf
├── secrets.tfvars  # <--- manually created, not committed
└── modules/
    ├── vpc/
    │   ├── main.tf
    │   ├── variables.tf
    │   └── outputs.tf
    ├── subnet/
    │   ├── main.tf
    │   ├── variables.tf
    │   └── outputs.tf
    ├── internet_gateway/
    │   ├── main.tf
    │   ├── variables.tf
    │   └── outputs.tf
    └── route_tables/
        ├── main.tf
        ├── variables.tf
└── outputs.tfReminder: You must create a
secrets.tfvarsfile manually to hold credentials. Never commit secrets to version control. It contains AWS credentials temporarily stored in plain text, which is not recommended for production environments. Also, we are still using local state files for simplicity. In a real red team deployment, you must use an encrypted remote backend.
Clone this project to your machine and execute the following commands to deploy the infrastructure:
Following permissions need to be added to the
TerraformEC2AccessIAM policy before using the above mentioned project:
ec2:CreateInternetGateway
ec2:CreateRouteTable
ec2:CreateSubnet
ec2:DescribeRouteTables
ec2:AttachInternetGateway
ec2:DescribeInternetGateways
ec2:DeleteInternetGateway
ec2:DeleteRouteTable
ec2:ModifySubnetAttribute
ec2:AssociateRouteTable
ec2:CreateRoute
ec2:DeleteSubnet
ec2:DisassociateRouteTable
ec2:DetachInternetGateway
⚠️Reminder: Switch to the dev Terraform workspace (terraform workspace select dev) before executing following commands. To create dev workspace use, terraform workspace new dev.
terraform init
terraform plan -var-file "secrets.tfvars"
terraform apply -var-file "secrets.tfvars"


Once done, remember to destroy the infrastructure via following command:
terraform destroy -var-file "secrets.tfvars"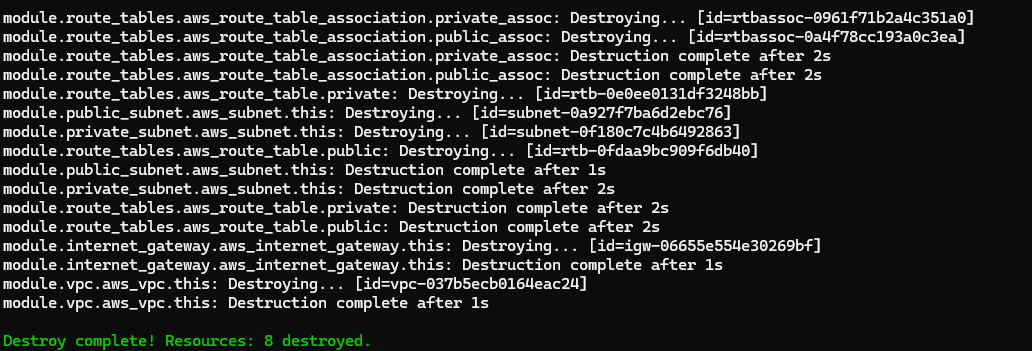
TL;DR
- In this post we covered how to create public and private subnets in a VPC using Terraform, attach an internet gateway, and configure route tables for internet access.
Follow my journey of 100 Days of Red Team on WhatsApp, Telegram or Discord.