Let's write a Beacon Object File for Havoc C2 - Part 4
Learn how to use files for input in a Beacon Object File (BOF).
In this series of posts, I will create a Beacon Object File (BOF) that works with Havoc C2. I will start by implementing simple functionality and gradually increase the level of complexity.
If this is the first time you are learning about BOFs, I recommend that you read my posts, Enhancing C2 agent via Beacon Object Files (BOF) and Creating a simple beacon object file for Havoc C2 for a quick introduction to BOF and BOF development.
Follow my journey of 100 Days of Red Team on WhatsApp, Telegram or Discord.
In this part, I will cover how to use files to provide input to a BOF. I will go through two scenarios, a. input file is located on a local machine (i.e. the attacker’s machine) and b. input file is located on a remote machine (i.e. the target machine). I will expand on the message box BOF developed previously. In the last part, we upgraded our message box BOF to handle user’s choice and based on it display a message box on the target machine.
For the first scenario, much of the heavy lifting will be done in the Python script. We will implement a new command, message-box4. This command will accept two arguments, input file location and input file path. Input file location will accept two values, “local” and “remote”. “local” will imply that the input file is located on the attacker’s machine. “remote” will imply that the input file is located on the target machine. Input file path will accept the path to the input file. The script will then validate the file path, read it’s content and use the message-box2.o BOF to display the message box.
The code snippet above contains only the newly added code. Full code is available here.
For the second scenario, I will create a new BOF. This BOF accepts the file path as an argument, validates it using the CreateFileA() Windows API, reads its content using the ReadFile() Windows API and display the message in a message box using MessageBoxA() Windows API. We will also need the CloseHandle() Windows API to close the handle to the file. Since we are using these Windows APIs for the first time, we will need to add their prototype at the beginning of this BOF source code.
WINBASEAPI HANDLE WINAPI KERNEL32$CreateFileA(
    LPCSTR                lpFileName,
    DWORD                 dwDesiredAccess,
    DWORD                 dwShareMode,
    LPSECURITY_ATTRIBUTES lpSecurityAttributes,
    DWORD                 dwCreationDisposition,
    DWORD                 dwFlagsAndAttributes,
    HANDLE                hTemplateFile
);

WINBASEAPI WINBOOL WINAPI KERNEL32$ReadFile (
    HANDLE hFile,
    LPVOID lpBuffer,
    DWORD nNumberOfBytesToRead,
    LPDWORD lpNumberOfBytesRead,
    LPOVERLAPPED lpOverlapped
);

WINBASEAPI WINBOOL WINAPI KERNEL32$CloseHandle (HANDLE hObject);
The code for the updated BOF which input file on the remote machine is as follows.
The code is available here.
Save the code in .c file and use the following command to compile (use the beacon.h file available here):
x86_64-w64-mingw32-gcc -c message-box4.c -o message-box4.o -wTo load the Python script in Havoc C2, go to Scripts → Script Manager → Load Script and select the message-box.py file.
To see the help for the message-box4 command, use
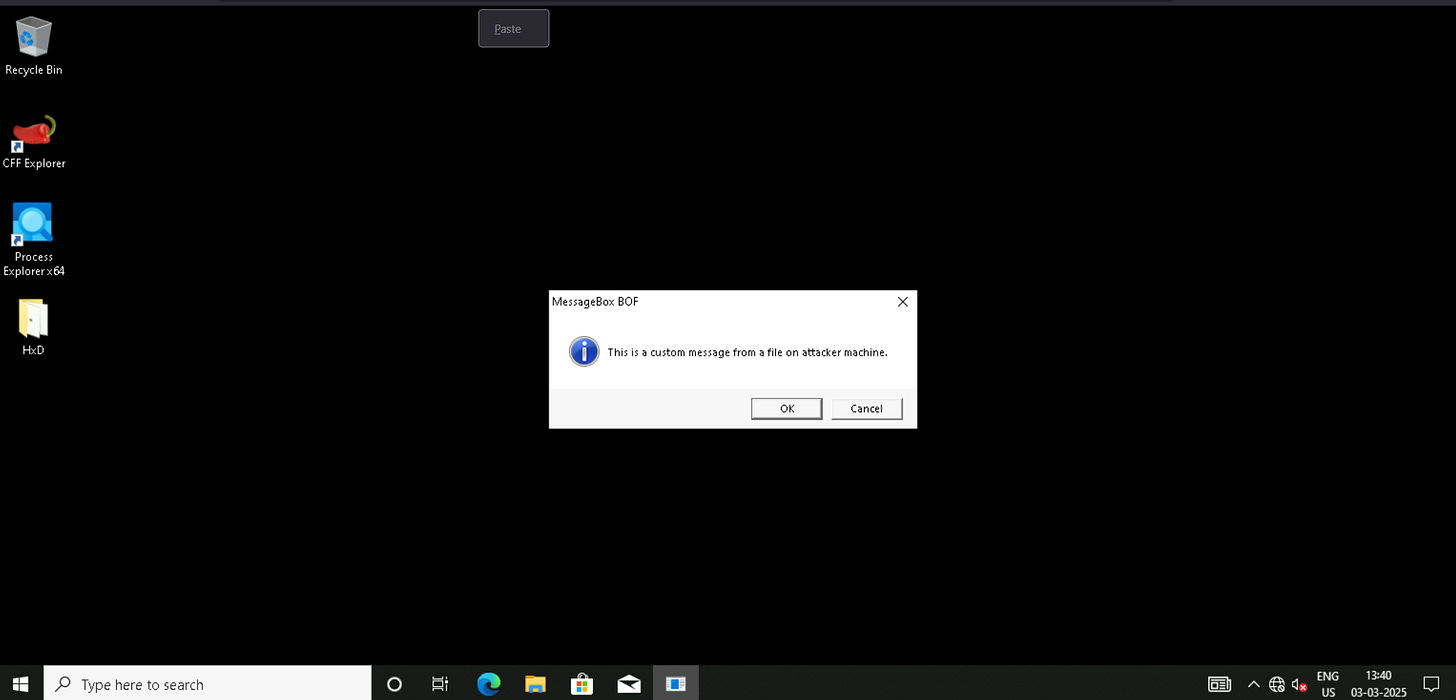
help message-box4Now, lets run the command to use an input file on the attacker machine (local):
message-box4 local /home/rt/Message-Box-BOF/message.txt
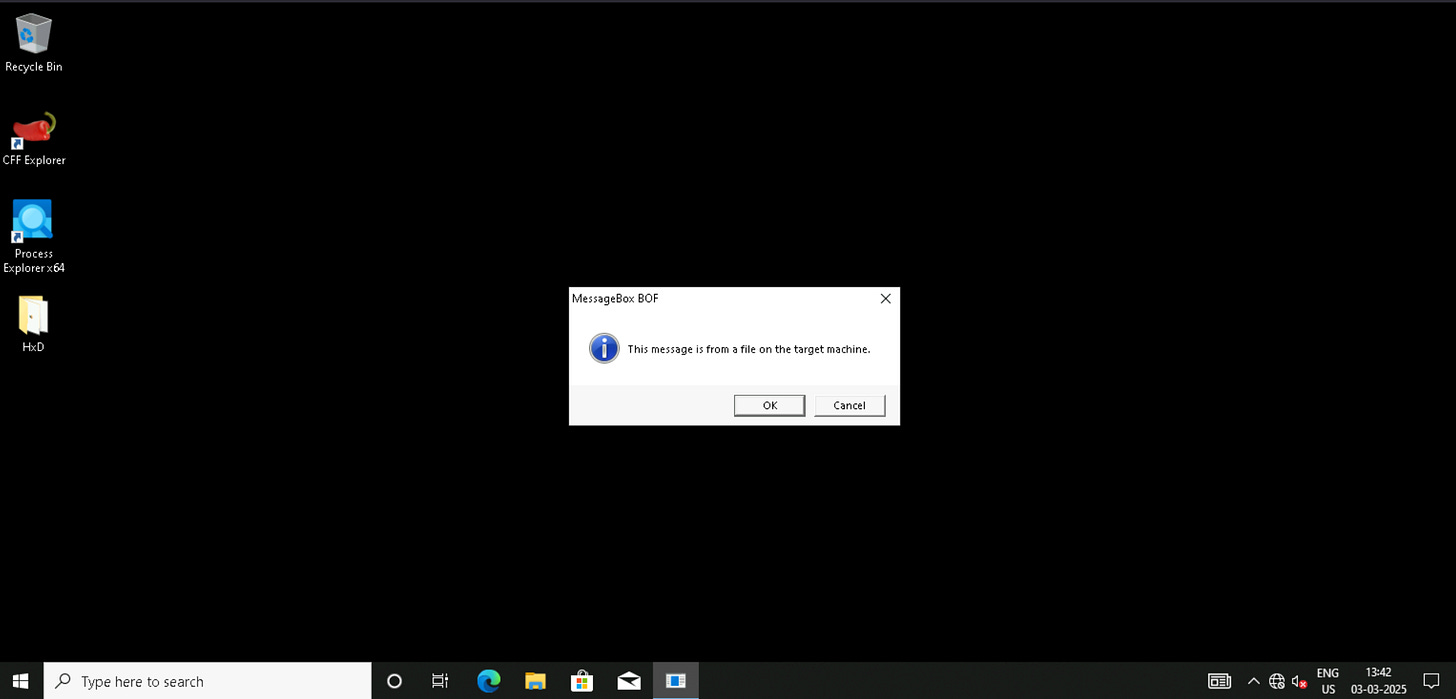
Finally, lets run the command to use an input file on the target machine (remote):
message-box4 remote C:\Users\rt\message.txt
Note: The message-box4 BOF will not work properly when executed via the inline-execute command. The arguments passed to the BOF using inline-execute do not get packed properly.
The code for Message Box BOFs is available in 100 Days of Red Team GitHub repository.
Red Team Notes
- To handle local input file within a BOF we leverage the Python script to read file contents and pass them to the BOF.
- To handle remote input file within a BOF we leverage the CreateFileA(), ReadFile() and CloseHandle() Windows APIs to read the file's content.
Follow my journey of 100 Days of Red Team on WhatsApp, Telegram or Discord.


